Setting an Espresso Roasting Profile for Optimal Flavor and Quality
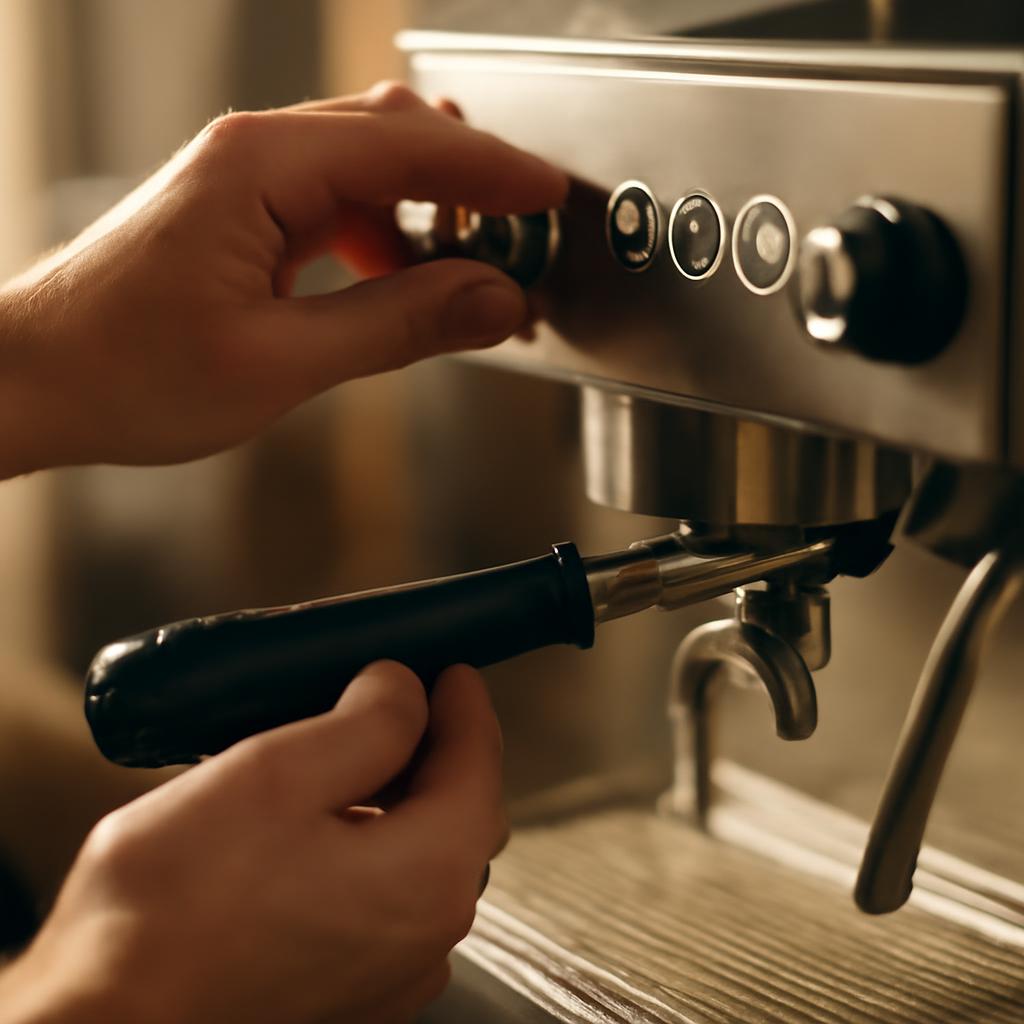
Coffee roasting is an art that directly impacts the flavor and aroma of your espresso. In the world of commercial production, where every gram of coffee bean counts, setting the right roasting profile is key to success. If you’re looking for reliable equipment for this process, consider roasting machine, which offer modern solutions for professionals. In this article, we’ll explore how to create the perfect espresso roasting profile, taking into account filter loading, dynamics (the rate of temperature rise), airflow management, and defect detection techniques.
This knowledge will help you not only improve product quality but also optimize resource consumption. Why does espresso require a special approach? This type of coffee is sensitive to subtle nuances during the roasting process, as the final beverage is prepared under high pressure and must have a balance of acidity, sweetness, and bitterness. Incorrect settings can result in a flat flavor or unwanted defects, such as over-roasted notes or soggy beans. Let’s break it down step by step, starting with the basics.
Espresso Roast Profile Basics
A roast profile is a temperature-over-time curve that determines how the beans develop their flavor characteristics. For espresso, a medium or dark roast is ideal, developing notes of chocolate, caramel, and fruit without excessive bitterness. Start by choosing green coffee: high-density Arabica beans are better suited for espresso because they can withstand a more intense roasting process. The first stage is pre-roasting, or drying.
Here, the temperature is gradually raised to 150–160°C to remove moisture without damaging the bean structure. This phase typically lasts 4–6 minutes, depending on the size of the brew. If the roast is too large, the beans may overheat on the outside without drying out the inside, resulting in an uneven roast. It’s recommended to start with 70-80% of the roaster’s maximum capacity to ensure even heat distribution. Next comes the Maillard phase, where the chemical reactions that form the aroma begin. Here, it’s important to control the rate of temperature rise. For espresso, the initial temperature should be 20-25°C per minute to prevent the beans from becoming stuck in a green state. If it drops too early, the roast will slow down, resulting in beans with grassy notes unsuitable for espresso.
The rate of temperature rise is the heart of roasting. It determines how effectively heat penetrates the beans.
Airflow management plays a role at all stages. At the beginning of the roast, a high temperature (around 80-100%) helps remove moisture and prevents smoke buildup. As roasting progresses, it is reduced to 50–60% to better retain heat and develop the sugars. Incorrect flow can cause defects: too much flow will make the beans light and brittle, while too little will result in uneven heating.
Proper roasting is the key to an even roast. It minimizes the risk of defects and saves energy.
During the roasting process, watch for the first crack—this is a signal that the beans have reached a light roast. For espresso, continue until the second crack, but stop 30-60 seconds before its peak to avoid overroasting. The general cycle for a 5-10 kg batch lasts 8-12 minutes.
Regularly test the profile on small batches to adapt it to seasonal changes in air humidity. Now, let’s move on to the details. This parameter is measured in degrees Celsius per minute and reflects the heating dynamics. The ideal curve for espresso is a gradual decrease from 25°C at the start to 5-10°C before the first crack. Below freezing, the roast stagnates, and the beans lose their potential. Modern roasters with sensors allow you to monitor this in real time, adjusting the gas on the fly.
- Initial: 20-25°C for a quick start.
- Medium: 15-20°C during Maillard.
- Final: 8-12°C before finishing, to monitor the development.
This setting strikes a balance: a high speed at the beginning prevents dehydration, while a reduction at the end allows the flavor to develop. If you’re a beginner, use your roaster’s software to visualize the curve—this will simplify analysis.
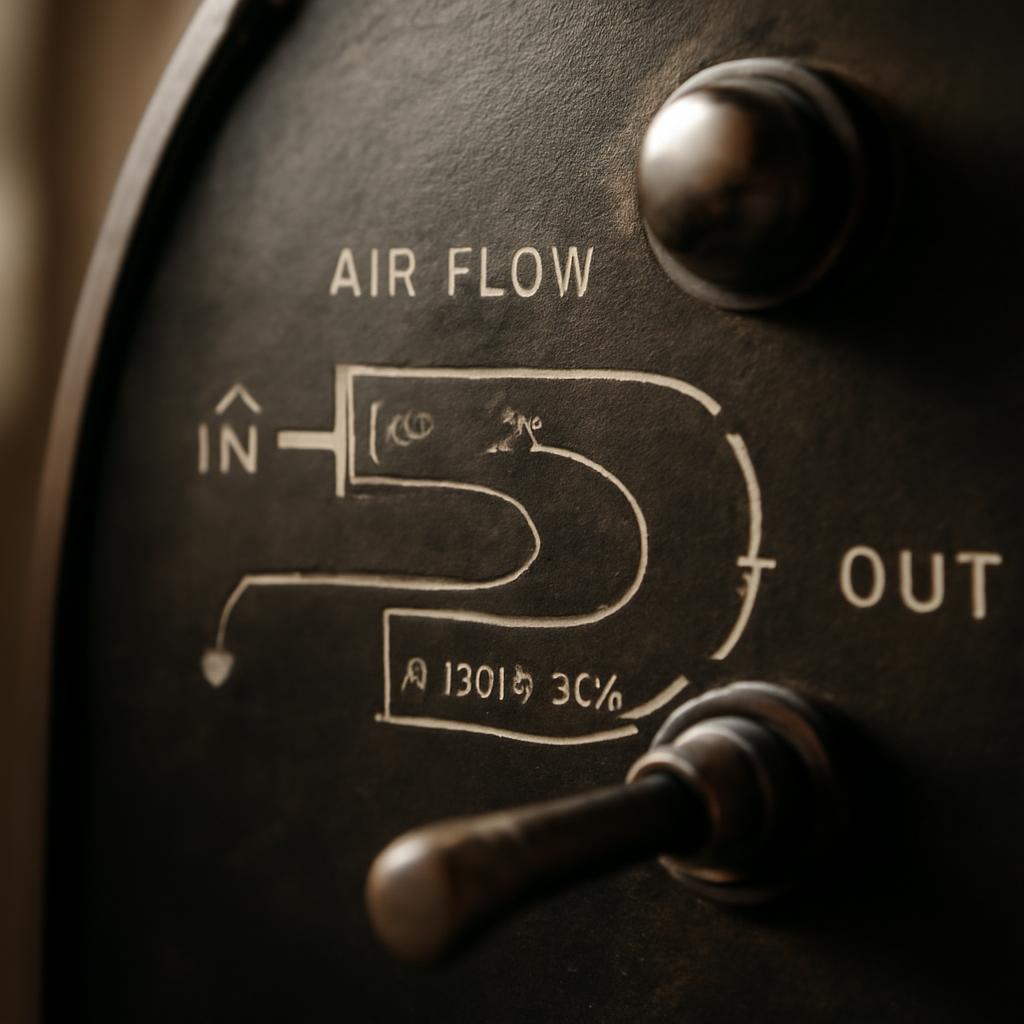
Airflow Control for Even Roasting
Airflow in a roaster is more than just a technical detail; it directly influences heat transfer and flavor development in the beans. For espresso, where rich flavor is essential, proper regulation prevents heat buildup in the drum and ensures that each bean is roasted evenly. At the beginning of the process, during drying, high airflow accelerates moisture evaporation, reducing the risk of mold or bacterial contamination. As the roaster approaches first crack, the airflow is gradually reduced to retain heat within the beans and initiate caramelization reactions.
Optimal values depend on the roaster model and batch size. Commercial espresso blenders recommend starting with 90% fan power, which creates a flow rate of approximately 2,000–3,000 cubic feet per minute. This helps disperse smoke and chlorogenic acids, which can impart bitterness. If the airflow is too low, hot spots form in the drum, leading to scorching of individual beans. On the other hand, excessive airflow cools the beans, prolonging the roast and reducing efficiency.
Airflow is the balance between speed and quality. It determines how deeply heat penetrates the core of the bean.
- Evaluate the initial moisture content of the beans: 80% for dry beans, 100% for wet beans.
- Monitor the smoke: if it’s thick, increase the flow by 20%.
- In the final phase, reduce the flow gradually to control the second crack.
- After roasting, check the residual moisture: aim for 1–2% for stability.
Experts emphasize that automated systems simplify management, but manual adjustments remain an art. Regular fan calibration prevents uneven roasting defects and helps achieve consistent production. Even with a perfect roast profile, defects can arise from minor errors in the roasting process or parameter control. For espresso, such problems are especially noticeable in the cup: a flat flavor or unexpected acidity ruins the balance.
The main defects include under-roasting, where the beans retain green notes due to being roasted too quickly at the end, or over-roasting, which results in a dominant bitterness due to being roasted too quickly at the end. The filter charge directly affects these risks. If the beans are unevenly charged, some of the batch may develop charring—charring of the tips, which manifests as a burnt-paper flavor. To avoid this, use vibrating sieves before charging and distribute the beans manually or mechanically. Another common defect is when a high initial temperature causes localized overheating. A moderate (no higher than 25°C) and consistent roasting helps here.
Defects are signals of imbalance. Analyzing them turns mistakes into lessons for improvement.
For diagnosis, use sensory analysis: roast a small batch and check for dark spots or silvery shells against a light background. Taste testing in an espresso machine will reveal acidity or dryness. Statistics show that 30% of defects are related to: too low flow leads to uneven heating, simulating extraction defects.
| Defect | Cause | Signs in the cup | Solution |
| High at the end | Grassy, sour | Slow down the profile, increase development time | |
| Low at the finish | Bitterness, smokiness | Increase flow, reduce time after the first crack | |
| Uneven charging | Burnt Flavor | Improve bean distribution, reduce initial temperature | |
| Stagnation | Flat flavor | Increase during Maillard |
This table helps you quickly identify problems. For prevention, implement profile logs: compare the curves of successful and unsuccessful roasts. In 2025, new AI sensors in roasters will automatically alert you to risks, but basic knowledge remains the foundation. Troubleshooting begins with calibration: regularly clean filters and check the thermocouple. If the defect recurs, retry charging—the bean moisture may be too high. Such measures not only save the batch but also increase overall production efficiency, reducing waste by up to 5%.
Optimizing Parameter Combinations for Consistent Production
To achieve consistent espresso roasting, all parameters must be integrated into a single system. Filter loading determines the starting point: the optimal batch weight is calculated using a formula that takes into account the roaster’s power and the desired density. For commercial scale, aim for 5–15 kg per cycle to maintain control over the roaster.
Regular equipment calibration, including checking thermocouples and fans, minimizes variations and ensures consistent flavor. By combining [with], create flexible profiles for different blends. For blends with robusta, where more body is desired, increase the initial [Blend] to 28°C, but compensate with a 10% increase to avoid overheating. Test profiles in a lab environment: measure for color (aim for 35–45 BHP for espresso) and perform touch panel tests. These practices reduce defects and allow you to adapt to bean supply.
Integrating parameters turns roasting into a science, where each element enhances the others.

Frequently Asked Questions
How to choose the optimal filter charge for Espresso?
The choice of brewing method depends on the roaster’s capacity and the characteristics of the beans. For a standard 10 kg machine, use 7-8 kg of green coffee to ensure even heating. Consider humidity: at 11%, reduce it by 5% to avoid condensation. Before loading, sift the beans, removing any fines that could clog the filter. This approach ensures consistent brewing and minimizes defects.
What should I do if the brewing method drops too quickly?
A drop indicates heat buildup or insufficient brewing. Immediately increase the airflow by 20% and add a slight gas boost to raise the speed to 15°. If the brewing method is the issue, reduce the batch size next time. Regular monitoring with software will prevent stagnation, preserving the flavor development of your espresso.
How to adjust for different types of coffee?
For light Ethiopian coffees, keep the roast high (80–90%) during Maillard to preserve acidity. For dense Brazilian coffees, reduce it to 60% after drying, enhancing body. Start with a base profile and adjust based on sensory testing. This tailors the roast to unique profiles, avoiding defects such as…
What are the visual signs of roasting defects?
Visual defects are revealed by uneven color: dark spots indicate over-roasting, while pale areas indicate over-roasting. A silvery skin indicates over-roasting. After cooling, check for cracks; excessive cracks indicate over-roasting. Regular inspection helps correct the process.
Is automation necessary for parameter control?
Automation simplifies control, especially in commercial settings where batches are large. AI systems predict defects and suggest corrections. However, for small-scale production, manual monitoring with logs is sufficient. The choice depends on scale: automation pays for itself by reducing errors by 25%.
How to store roasted coffee for espresso?
Store in airtight containers at 20-25°C, avoiding light and moisture. The optimal shelf life is 7-14 days after roasting, when aromas are at their peak. For espresso, use vacuum packaging to maintain balance. Regular inventory rotation will prevent loss of freshness.
In this article, we’ve covered in detail the key aspects of espresso roasting, from properly loading the filter and controlling the rate of temperature rise, through airflow management and troubleshooting, to optimizing all parameters for consistent production. These elements form the foundation for achieving the perfect balance of flavor, where richness meets purity and aroma. Understanding their interactions allows you to avoid errors and improve the quality of each batch. For practical application, start by calibrating your equipment and testing small batches to master profiles tailored to your coffee beans.
Regularly keep roasting logs, analyzing and evaluating your roasts, and don’t forget about sensory evaluations in the cup. These steps will ensure consistency and minimize waste, making the process efficient even at home. Don’t put off experimenting—get your beans and roaster, put this knowledge into practice, and your espresso will shine in new ways. Roasting is an art that rewards patience and attention, opening up endless possibilities for perfection.
